
Gingerbread House
Gingerbread House Recipe from King Arthur Flour
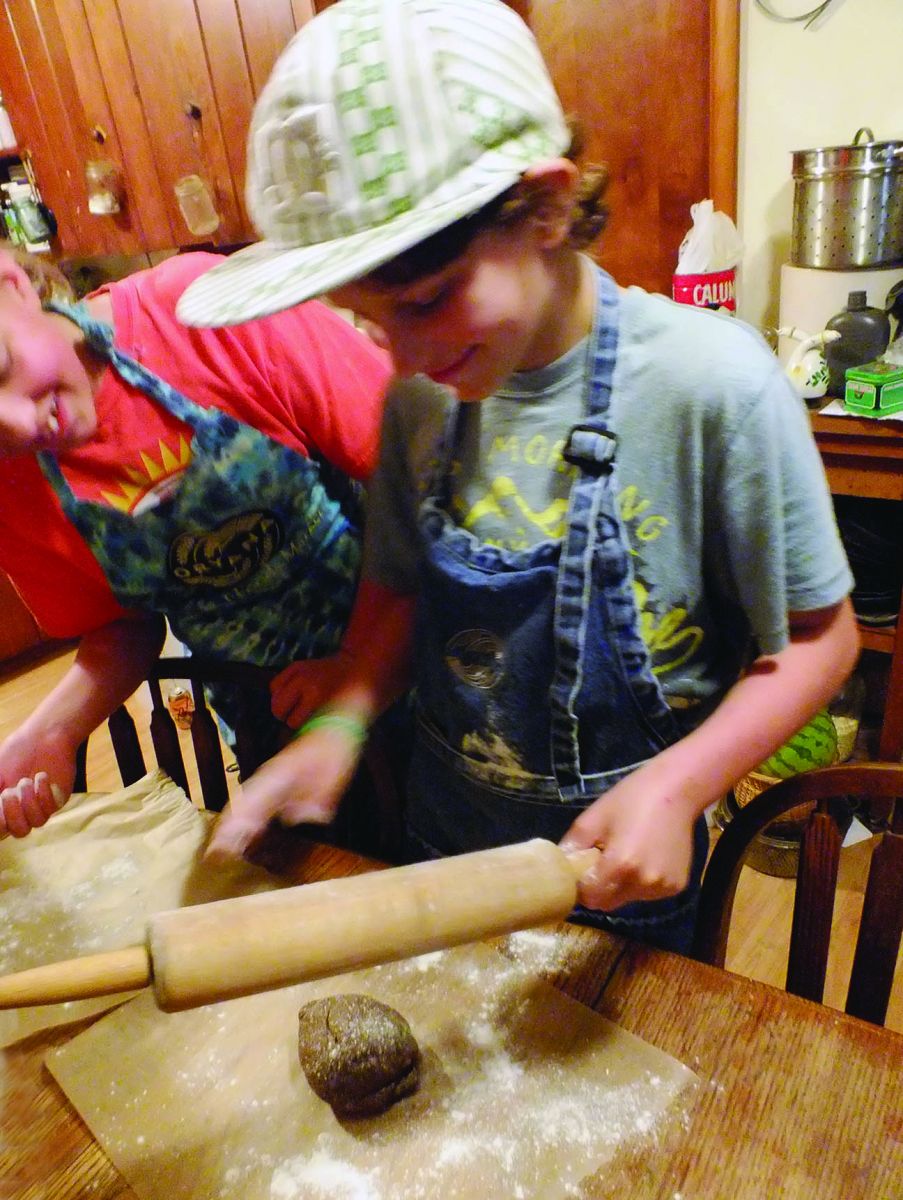
Get in the holiday spirit with this fun family project! We enlisted Gabby and Zachary to try the King Arthur Flour gingerbread house recipe and it turned out great! The whole process is quite involved and takes some time, though, so be sure you have plenty of time and lots of space too. It’s not something you can rush through. Enjoy!

Gingerbread
¾ cup buttermilk or ¾ cup milk mixed with 1 teaspoon cider vinegar
6 tablespoons butter
1 cup brown sugar
½ cup molasses
1 large egg
5 ¼ cups all-purpose flour
1 teaspoon baking soda
1 teaspoon ginger
1 teaspoon cinnamon
½ teaspoon sea salt
Royal Icing
3 egg whites
½ teaspoon cream of tartar
4 cups confectioner’s sugar
Gingerbread house pieces you will need to make:
2 long walls
2 gable end walls with a point on top
2 roof panels
Optional: trees, other architectural pieces such as shutters or a chimney
Other stuff you will need:
A stiff piece of cardboard to use as a foundation, covered with foil or parchment paper, a pastry bag or plastic ziplock bag to pipe the royal icing, a ginger bread house template. Here’s the one we used.
Directions for making gingerbread
- In a large saucepan, heat the butter and the buttermilk until butter melts. Remove from heat. Add the brown sugar and molasses and beat in the egg.
- Whisk the spices, salt, and baking soda together with one cup of flour. Add this to the wet mixture and mix until incorporated. Add flour one cup at a time until you have a smooth, stiff dough. It should be stiff enough to be flexible but not crumbly or sticky.
- Divide the dough in half, wrap the halves in plastic wrap and flatten them into thick disks before chilling in the refrigerator for one hour.
Directions for making the royal icing
- In a large bowl, whip the egg whites with the cream of tartar until foamy.
- Sprinkle in the confectioners sugar gradually while beating. The more you whip the icing, the stiffer it will be and the faster it will harden.
- Keep royal icing covered to prevent it from drying out. Store royal icing in a ziplock food bag.
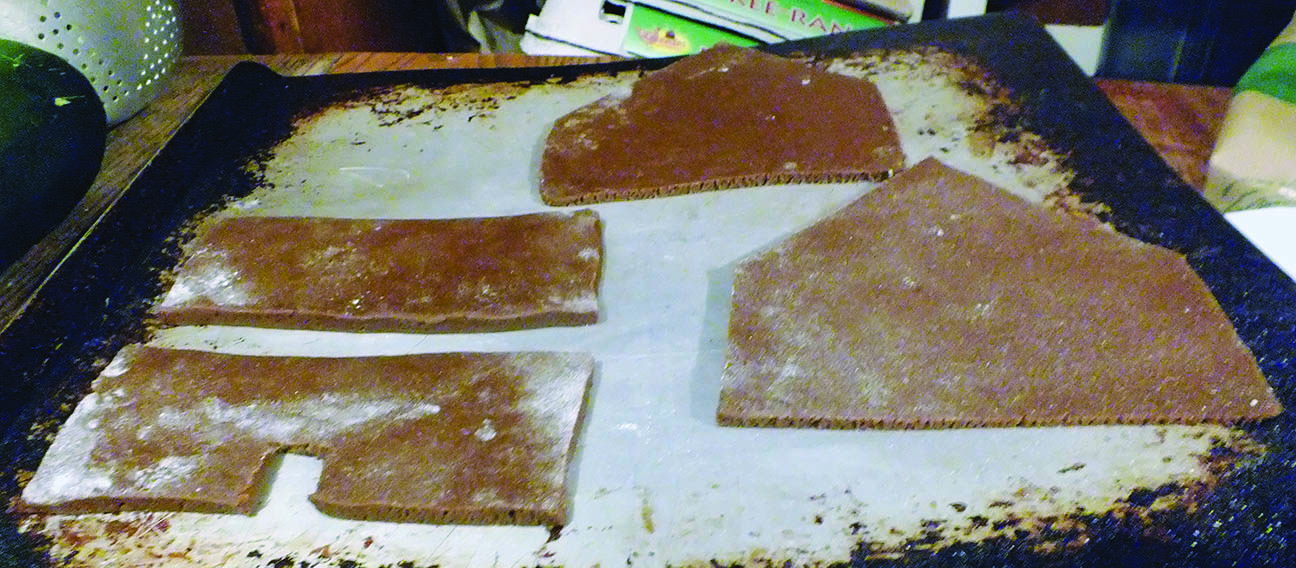
Cut and bake the pieces
- Heat oven to 350°F. Remove one piece of dough from refrigerator. Use a cookie sheet with no sides or turn over a rimmed cookie sheet. Roll the dough directly on the cookie sheet. Or roll out on a piece of parchment paper and then transfer to the cookie sheet.
- Roll out the dough evenly into a rectangle ¼ inch thick. Cut out the two side walls. Cut in windows if desired.
- Take reserved piece of dough from fridge and roll out to ¼ inch thick. Cut out the roof panels.
- Take all the remaining scraps, roll them out, and cut the two end walls. Cut a door in one end if desired and/or windows.
- Bake the pieces for 15 – 18 minutes until the edges just begin to brown. Remove from oven and place on a cooling rack. After 10 minutes, run a spatula under the pieces to free them up from the pan. Allow to cool completely.
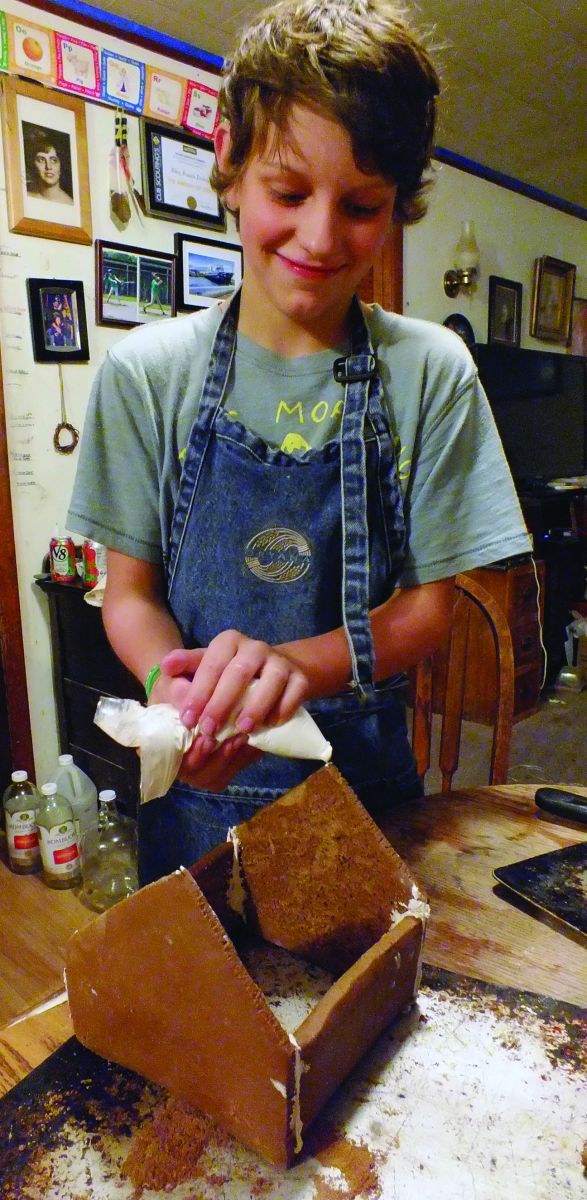
Assembling the house
- Using a serrated bread knife, trim the edges of the walls to square them off and remove bumpy edges. Use a sawing motion to prevent the pieces from cracking.
- Cut a ¼ inch hole in the pastry bag or tip of the plastic bag and pipe a generous line of icing along the bottom of one of the side walls. Place it on the board and use a prop, such as a can of beans, to hold it upright. Pipe another wide band of icing along the bottom inside edge of the wall to reinforce it.
- Repeat this process with one of the end walls, making sure to put some icing on the vertical edge where the walls meet. Place the end wall so it is inside the side wall for a stronger house.
- Repeat with the other wall and end wall. Make sure the walls are at right angles before the icing sets. Wait at least 4 hours for the icing to harden before installing the roof. It could take longer depending on how humid it is.
Installing the roof
- Have a prop ready to prevent the roof panel from sliding down. Put a thick line of frosting along the top of the side wall and up the points of the gable end. Place the first half of the roof in place. Pipe more icing along the inside seam where the pieces meet to reinforce the joint. Carefully wipe away drips as needed.
- Let the first roof panel dry in place for at least an hour, then repeat the process with the second half of the roof. (Note: if you plan on decorating the roof panels with heavy decorations, do the decorating first and let it dry completely before installing.)
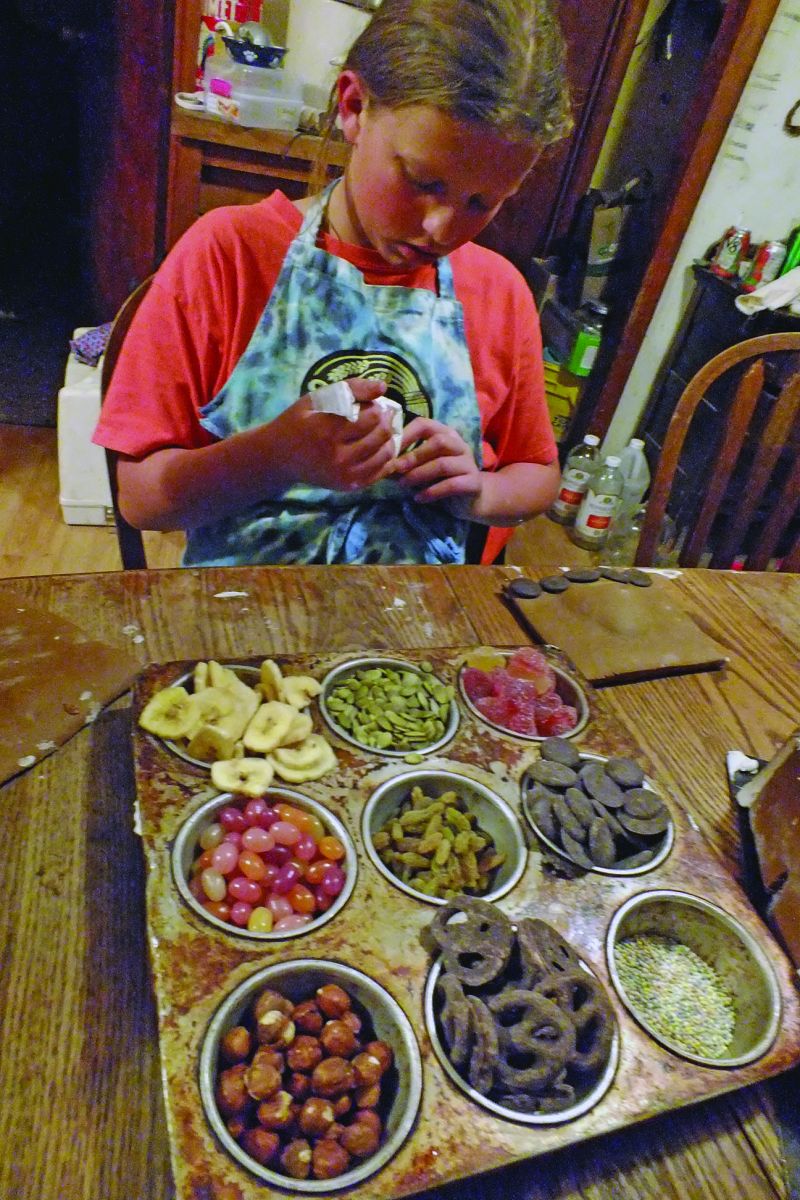
Decorating
This is the fun part! Be sure to use only edible decorations. You can use food coloring to tint some of the icing if you wish. Have some cotton swabs ready for cleaning mistakes and drips. If you made trees, color some of the icing green and thin it with a little water, then paint it on the trees.
Suggestions for natural decorations. Oryana’s bulk department is a great place to find decorations:
Pretzels
Natural marshmallows
Mini peanut butter cups
Fruit leather
Small cookies
Chocolate chips
Dried fruit
Nuts
Mint candies
Candy canes