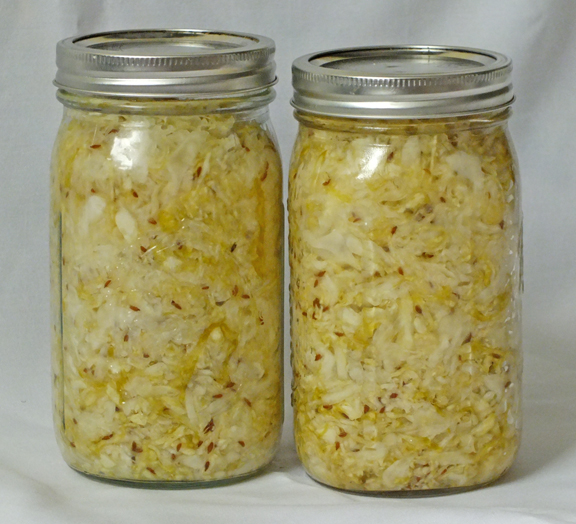
Sauerkraut
Before modern day canning techniques became a ritual in home kitchens in bygone days, most of our American ancestors utilized the process of lacto-fermentation. They had large crocks of sauerkraut, lacto-fermented cucumber pickles and other delights such as beets, onions or green beans stored in the root cellar, waiting to be enjoyed throughout the winter months.
Other countries also traditionally fermented vegetables as a way to preserve them, with salt, water and spices, knowing that the lactic acid produced would preserve the precious nutritional storehouses. Kimchi from Korea and curtido from Latin America are two flavorful condiments popular in their respective countries. When this food preservation technique fell out of favor, we lost touch with the unparalleled health benefits that came with it.
Fermenting foods not only preserves them, it renders them delicious! Fermented foods also improve digestion. They restore the proper balance of bacteria in the gut, are rich in enzymes, and actually have increased vitamin content. Some common fermented foods include sauerkraut, kefir, yogurt, tempeh, kombucha, and miso.
Practically any vegetable can be fermented, but here is a basic recipe for sauerkraut, taken from Sandor Ellix Katz’s book “Wild Fermentation.”
Sauerkraut
Equipment:
Ceramic crock or food-grade plastic bucket, one-gallon capacity or greater
Plate that fits inside crock or bucket
One-gallon jug filled with water (or a scrubbed and boiled rock)
Cloth cover
Ingredients (for 1 gallon):
5 pounds cabbage
3 tablespoons sea salt
1. Chop or grate cabbage, finely or coarsely. Place cabbage in a large bowl as you chop it.
2. Sprinkle salt on the cabbage as you go. The salt pulls water out of the cabbage and this creates the brine in which the cabbage can ferment and sour without rotting. The salt also has the effect of keeping the cabbage crunchy, by inhibiting organisms and enzymes that soften it.
3. You can add other vegetables such as grated carrots, onion, garlic, turnips, beets, or herbs and spices such as caraway seeds, dill seeds, celery seeds, and juniper berries.
4. Mix ingredients together and pack into crock. Pack just a bit into the crock at a time and tamp it down hard using a pestle or kitchen hammer. The tamping packs the kraut tight in the crock and helps force water out of the cabbage.
5. Cover kraut with a plate or some other lid that fits snugly inside the crock. Place a clean weight (a glass jug filled with water) on the cover. This forces the water out of the cabbage and then keeps it submerged under the brine. Cover with a cloth.
6. Press down on the weight to add pressure to the cabbage and help force water out of it. Continue doing this every few hours, until the brine rises above the cover. This can take up to about 24 hours. If the brine does not rise above the plate level by the next day, add enough salt water to bring the brine level above the plate. Add about a teaspoon of salt to a cup of water and stir until it’s completely dissolved.
7. Leave the crock to ferment.
8. Check the kraut every day or two. Sometimes mold appears on the surface. Skim what you can off of the surface; it will break up and you will probably not be able to remove all of it. Don’t worry about this. The kraut itself is under the anaerobic protection of the brine. Rinse off the plate and the weight. Taste the kraut. Generally it starts to be tangy after a few days, and the taste gets stronger as time passes. In the cool temperatures of a cellar in winter, kraut can keep improving for months. In the summer, its life cycle is more rapid. Eventually it becomes soft and the flavor turns less pleasant.
9. Store in the refrigerator. Make sure the kraut is packed tight in the crock, the surface is level, and the cover and weight are clean. Sometimes brine evaporates, so if the kraut is not submerged below brine just add salted water as necessary.